How to Detect Gold with a Metal Detector
Tune your metal detector for gold: ground balance, discrimination, coil selection, and field technique.
Introduction
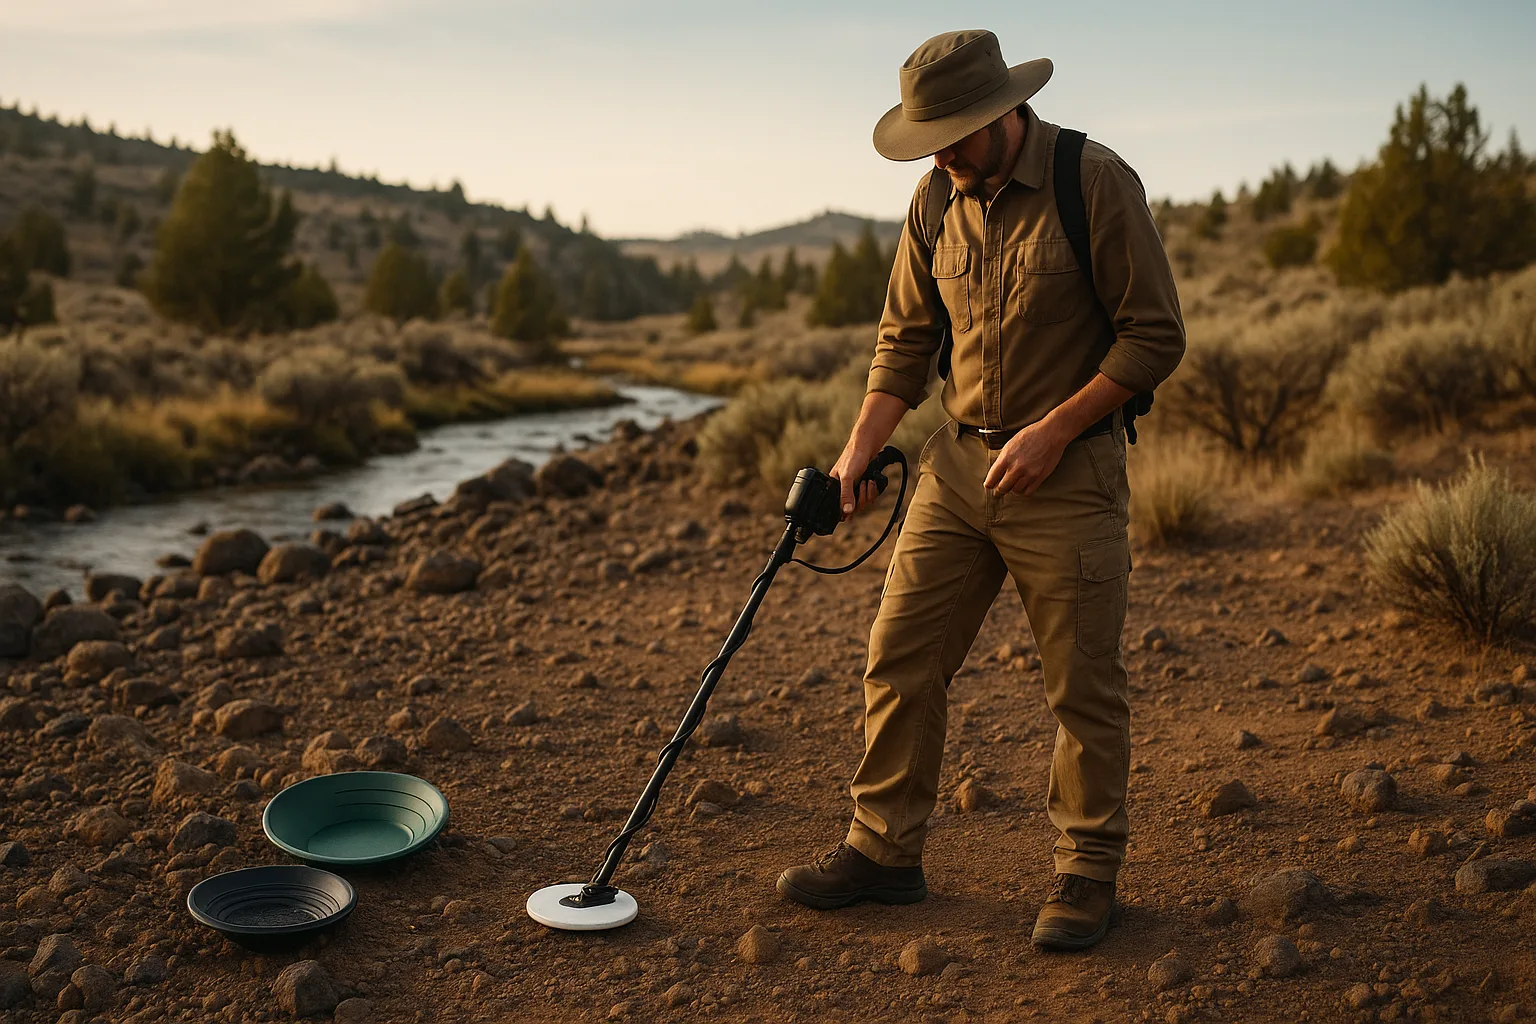
Successful gold detecting requires careful tuning and disciplined sweep technique. Mineralized Oregon soils demand proper ground balance and coil choice to hear faint nugget signals.
Equipment and Materials
- Gold-capable metal detector with small/medium coils
- Pinpointer, digging tools, headphones
- Spare batteries and coil covers
Step-by-Step Instructions
1) Set ground balance
Manually ground balance in mineralized soils; auto GB may drift on hot ground.
2) Adjust discrimination and sensitivity
Run minimal discrimination for nuggets; raise sensitivity to stable threshold without chatter.
3) Choose the right coil
Small coils for trashy sites and bedrock; larger coils for depth in cleaner ground.
4) Master sweep technique
Keep coil level, overlap passes, and slow down over promising ground and old workings.
Pro Tips
- Use headphones to hear faint “whispers.”
- Test your settings on known targets before hunting.
- Hunt contact zones and exposed bedrock in known districts.
Common Mistakes
- Running too much discrimination and missing small gold.
- Neglecting coil control—lifting at the end of swings.
- Skipping known-producing ground because it “looks worked.”
Troubleshooting
If instability persists, reduce sensitivity, re-ground balance, and check for EMI sources.
FAQ
VLF or PI? VLF for small shallow gold; PI for depth and severe mineralization.
Best time of day? Early/late when EMI is often lower and soil temps are stable.
Conclusion
Deliberate setup and disciplined technique turn weak signals into real gold finds.
Related guides: Read River Morphology · Optimize Prospecting Routes